Indictment! Excitement! Let's Braise the Lord!
And a recipe for Bottle-of-Wine Brisket “Au Poivre” with Cinnamon, Crispy Dates, Fried Shallots, and Herbs
This newsletter is abridged because I’m a somewhat delinquent Jew (in the forgetful sense, not the mitzvah sense) and didn’t register that Passover is next week, and not the week after. (Never mind that I was flipping a pork chop when I had the realization.) And so, for the past three days, rather than leisurely developing a brisket recipe as I had intended for next week’s NOODLE, I’ve been schvitzing, making back-to-back-to-back (to-back) briskets, so that you’re prepared and pumped for Passover. And anything else you feel like celebrating.
Though I may don a tarnished Star of David, I’m a Good Student! And I’ve made my deadline. Now, your turn: order a POINT cut of brisket (rather than the more common FLAT), braise that baby ahead of time— it’ll be more succulent and flavored through-and-through— and recline way back, Passover-style, because I’ve done all the cramming for you.
I’ve been wanting to formally develop this recipe ever since my last romp ‘round the brisket ring during Yom Kippur. That brisket was a classic result of my being a Throw Things Together Cook, and predictably, post-dinner, I was met with a disgruntled stampede of friends who requested my non-existent recipe. I get it. The TTT cook with no recipe to share is super annoying.
I know Yom Kippur is the time to atone for your sins so I’m pretty tardy at this point, but writing up this recipe is my way of repenting, just on a different holiday.
Some of the elements that make this brisket bangin’:
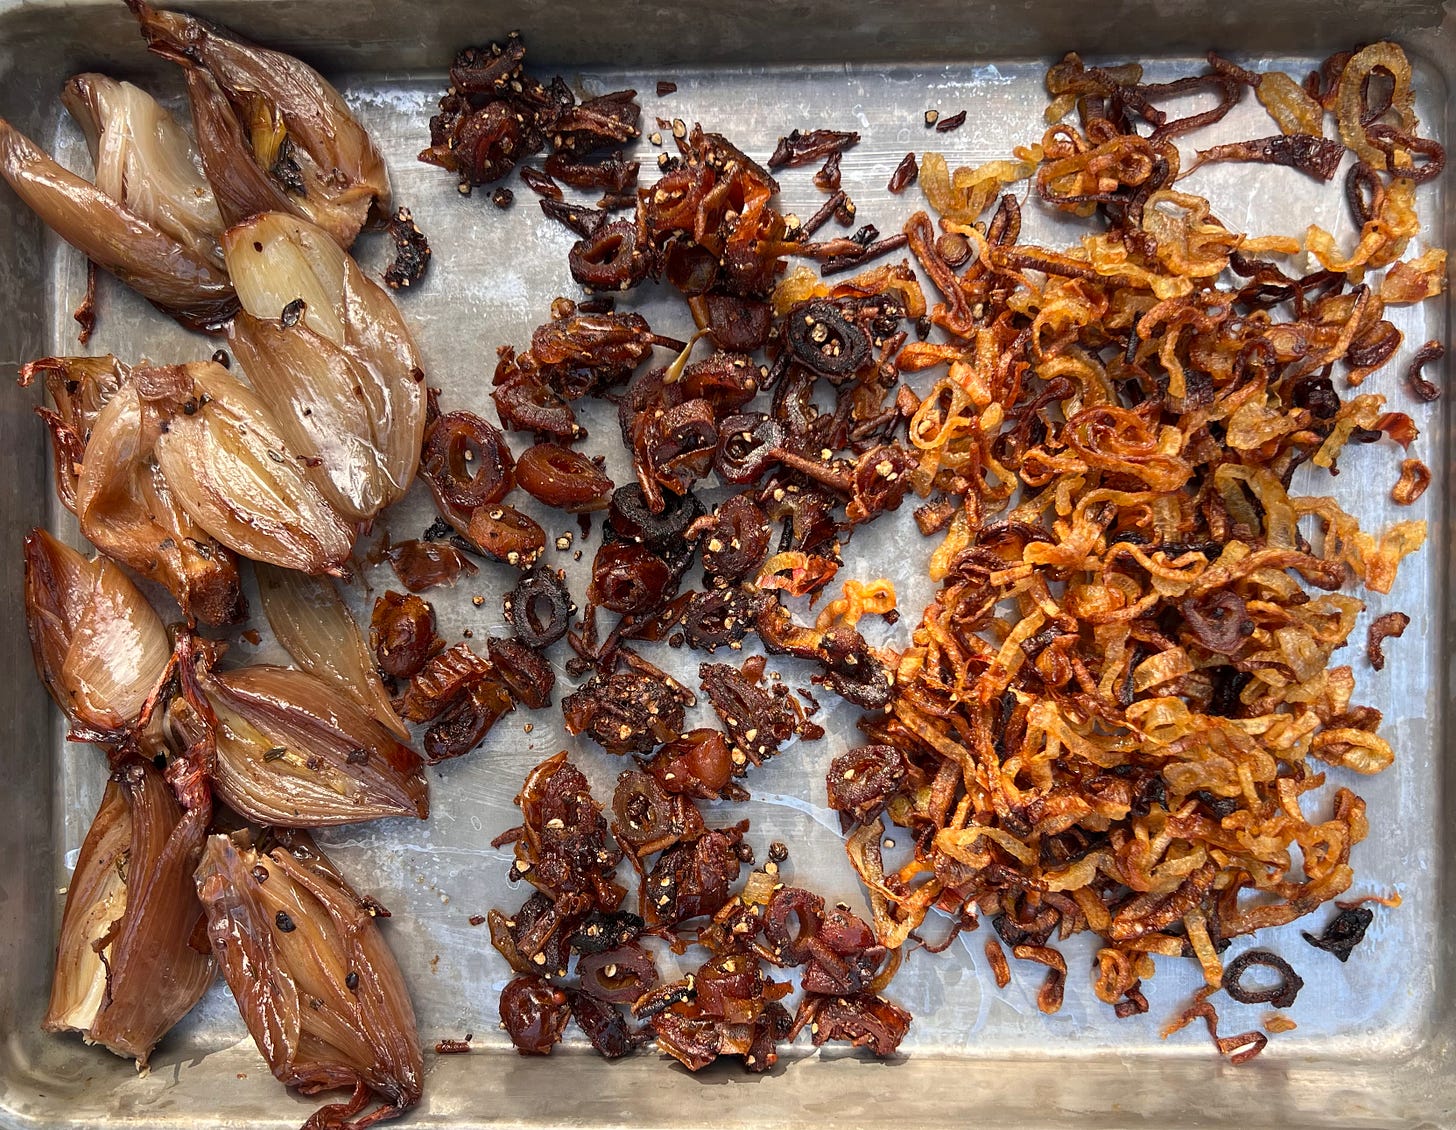
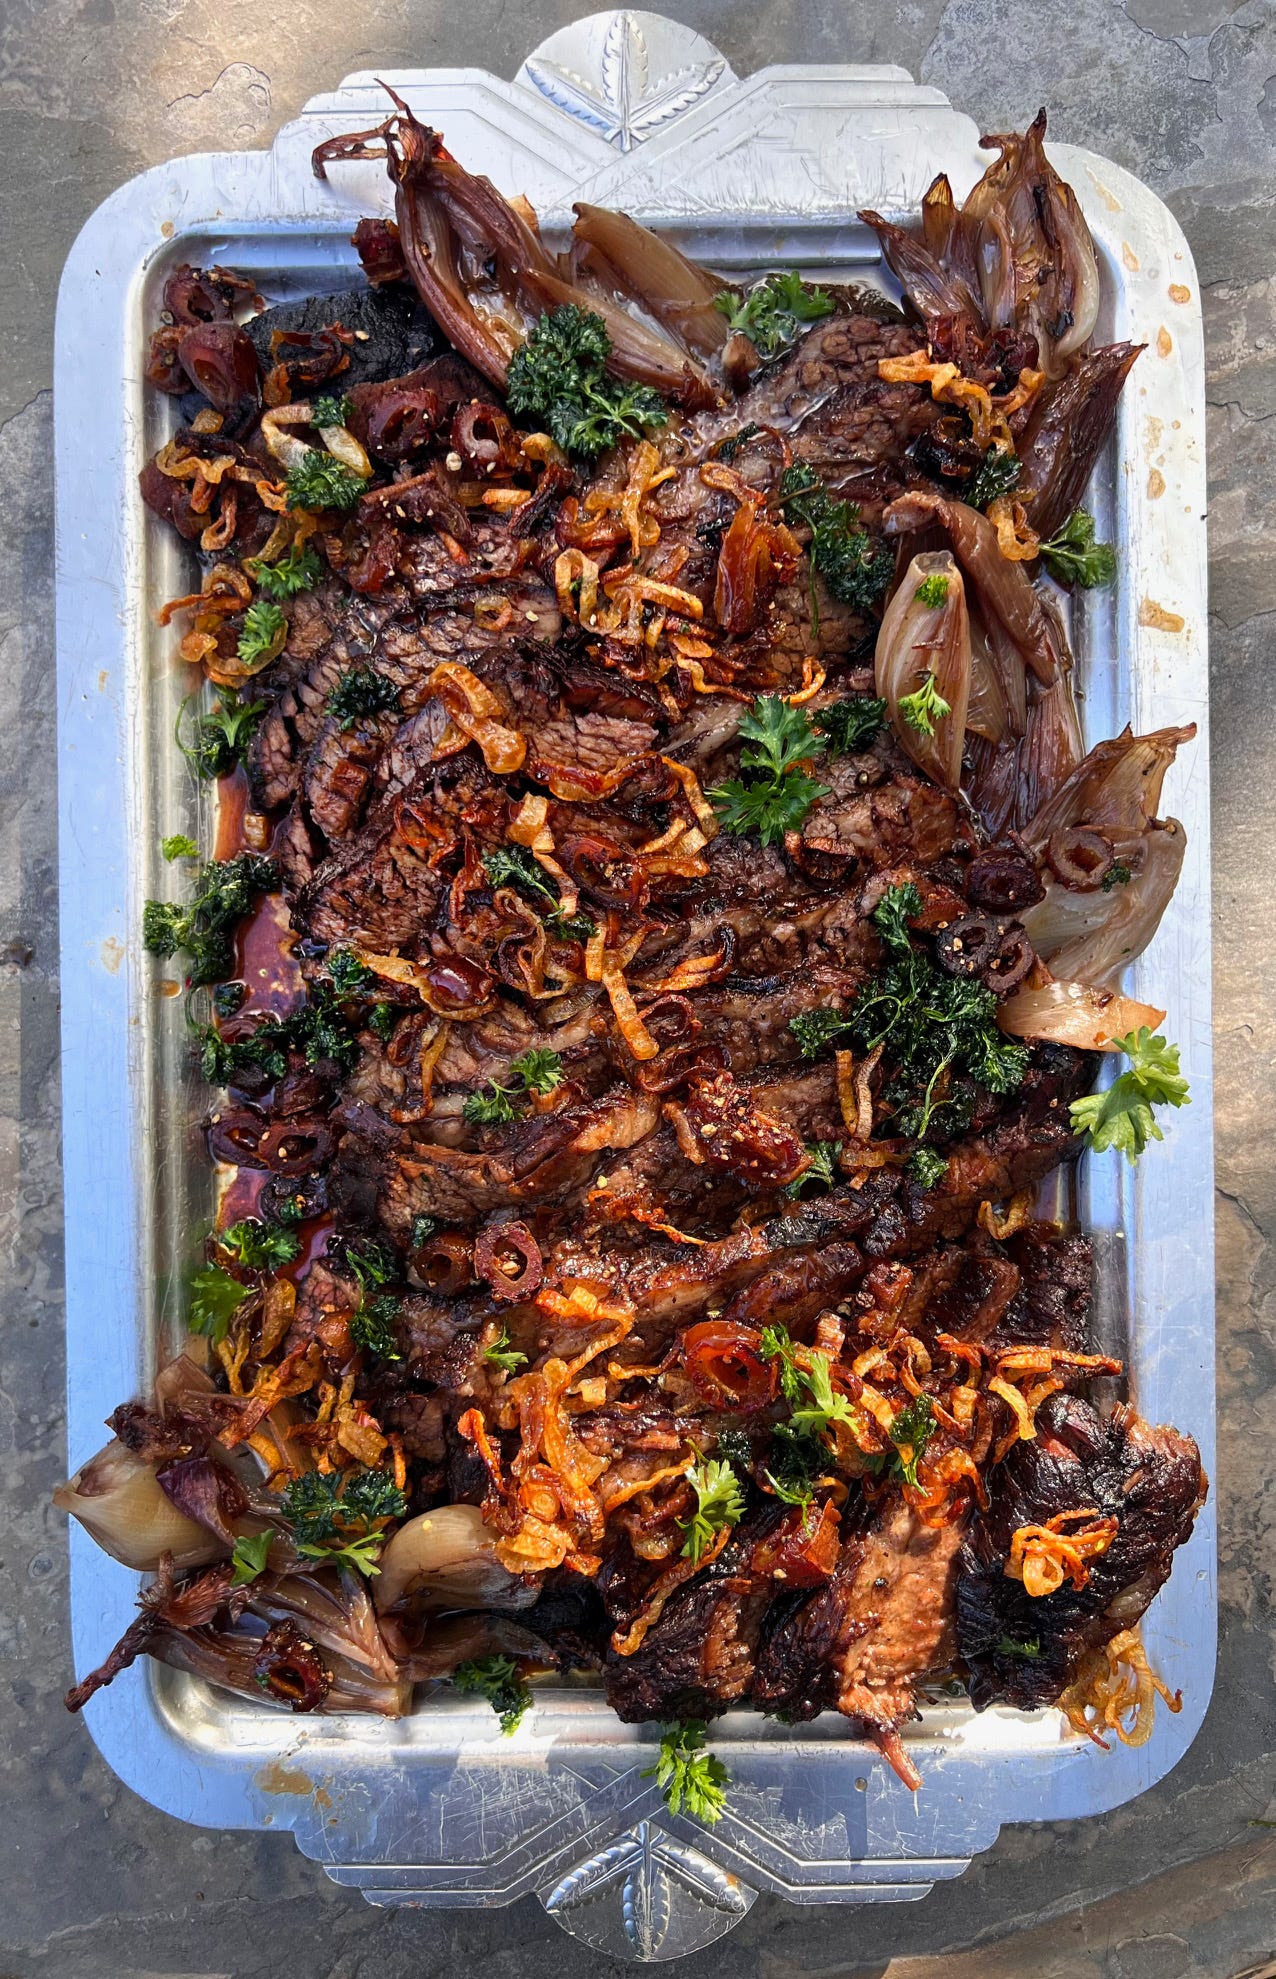
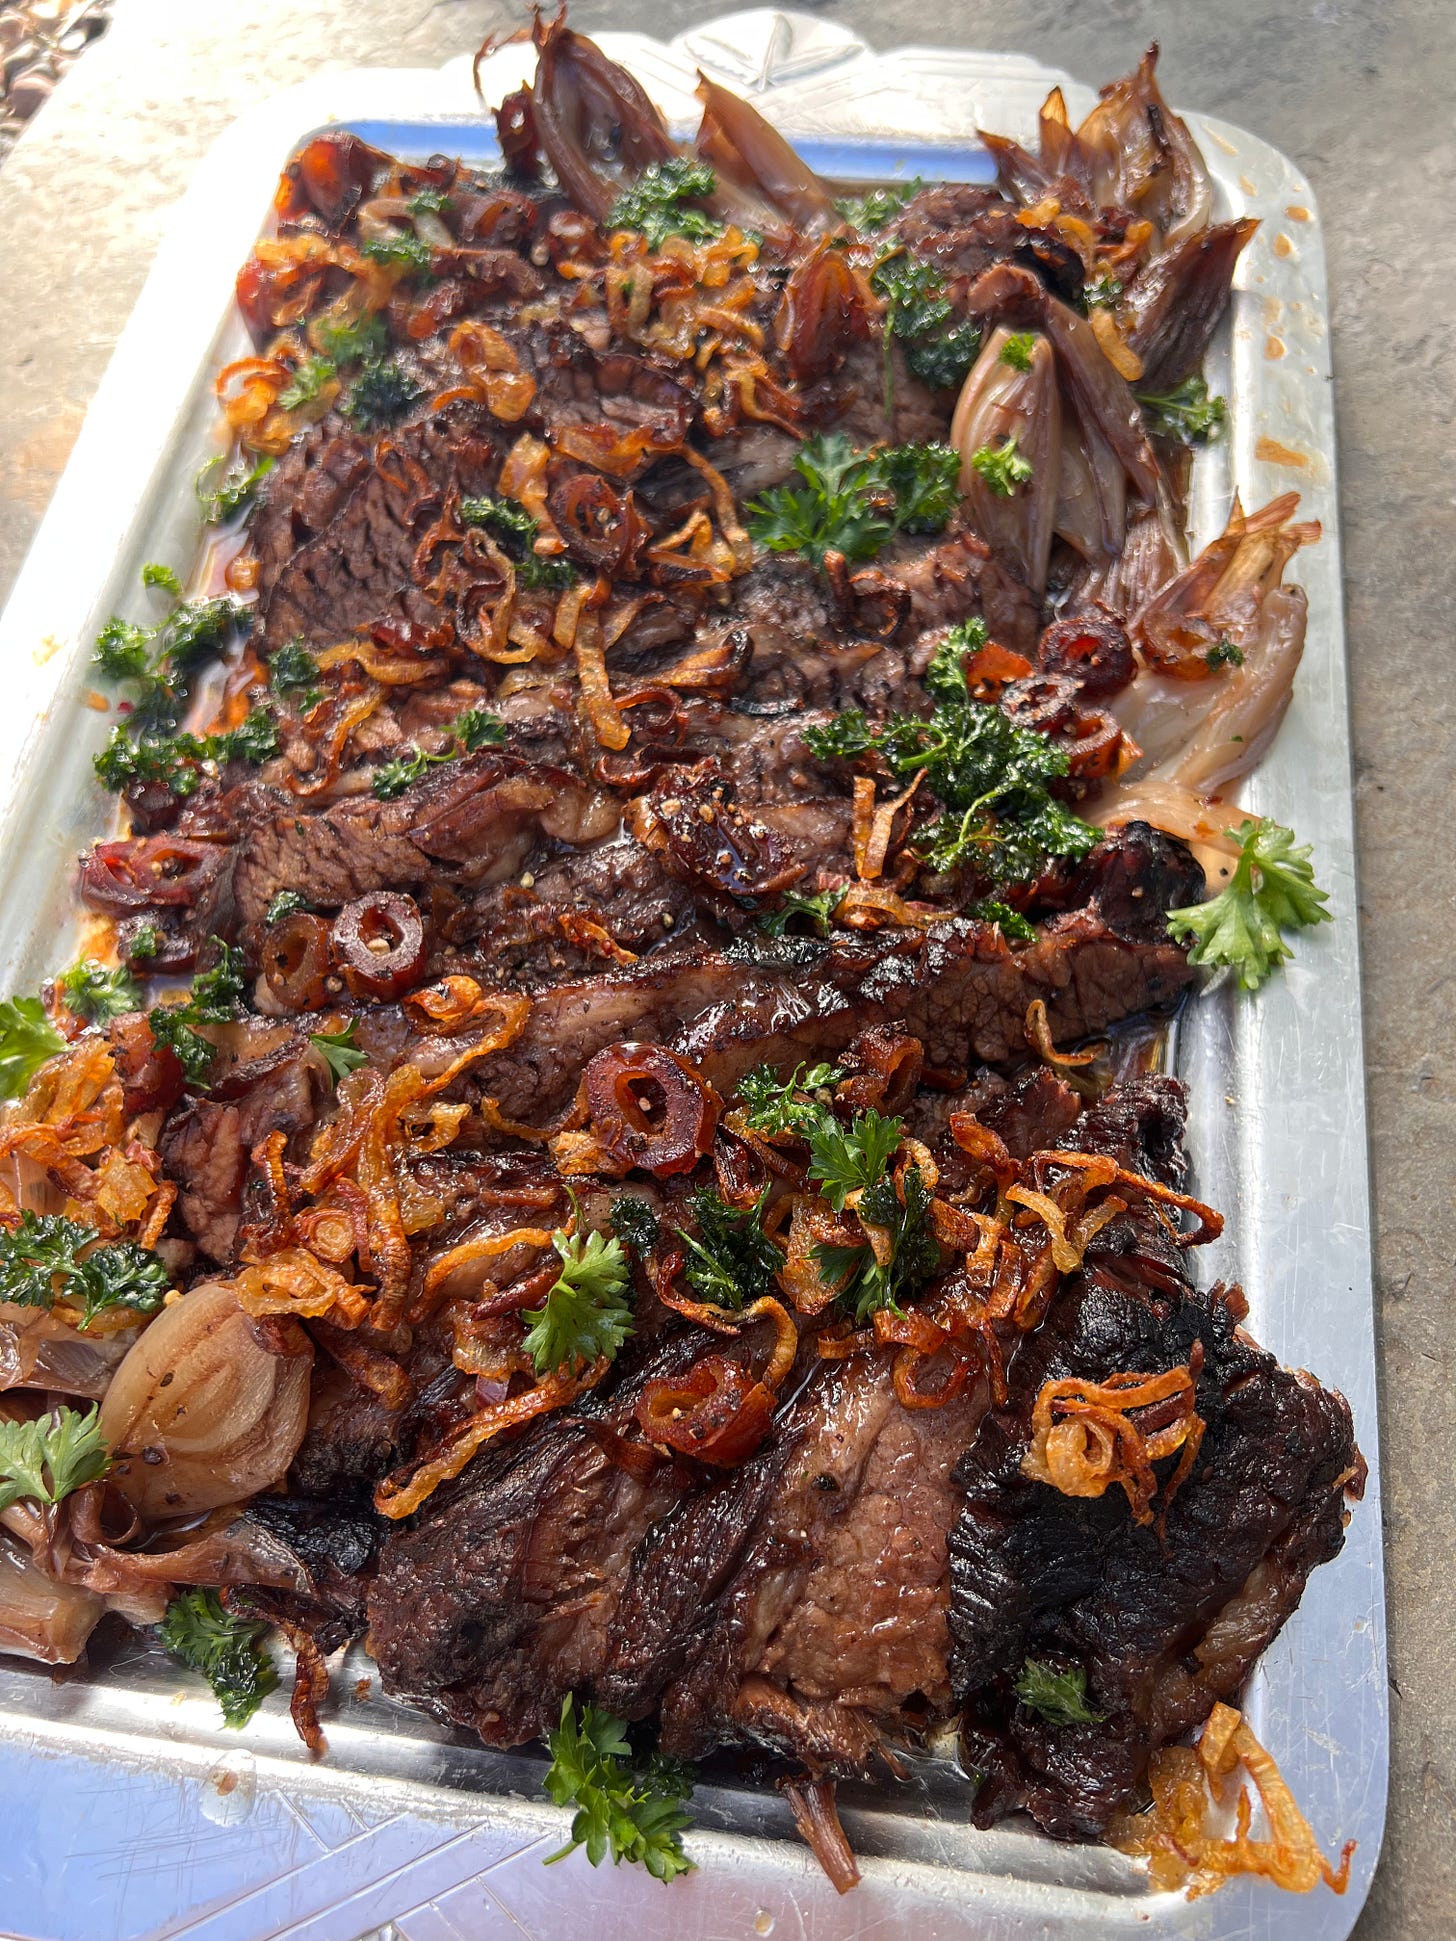
The garnishes: We’ve got: sweet (slow-roasted shallots, dates), savory (fried shallots), and peppery (umm… black peppercorns, fried). Without sounding hackneyed, there’s a pretty eclectic and downright delicious balancing act happening here. Finish off the platter with fresh and fried parsley (make it curly because, Passover), and watch your back (and your plate) because Elijah might actually show up this year.
An entire bottle of red: No further explanation needed.
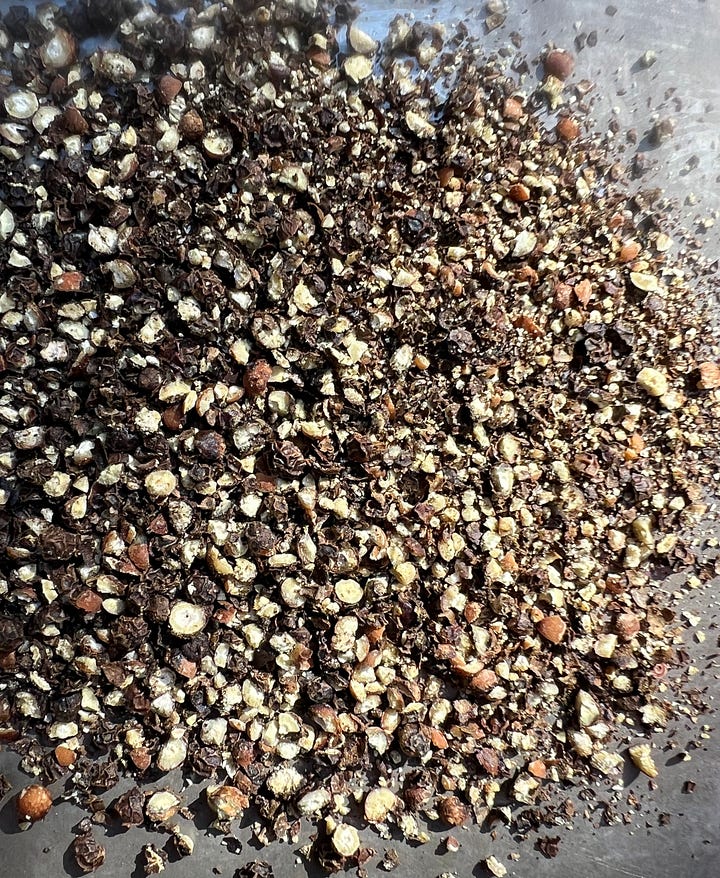
Black peppercorns (à la steak au poivre): The difference between this brisket and the bistro steak staple is that here, you can control the fry sitch. Steak au poivre is so so so good when it’s good, but it can be challenging to execute properly without burning the bejesus out of the black peppercorns. This recipe isolates that incredible tallowy spice crust by doubling down: first through rubbing the roast in cracked black peppercorns before braising, and then by frying some more pepper (in brisket fat if you desire) post-braise.
Options for ease:
Browning… it’s up to you! The browning (that is, searing) of the brisket is optional!! Controversial, I know! If you don’t have a pan large enough to fit your brisket in one piece, this step can feel clunky. Does searing the meat before braising add a little extra depth? Sure, but going right into the oven is just as delicious— as evidenced by three not-that-hungry people eating a 3 ¼ pound test brisket just last night— and it’ll save you 20 minutes if you want to skip the searing. For what it’s worth, the non-browning method is what I’ll be employing next week, when I make this brisket yet again for my seder.
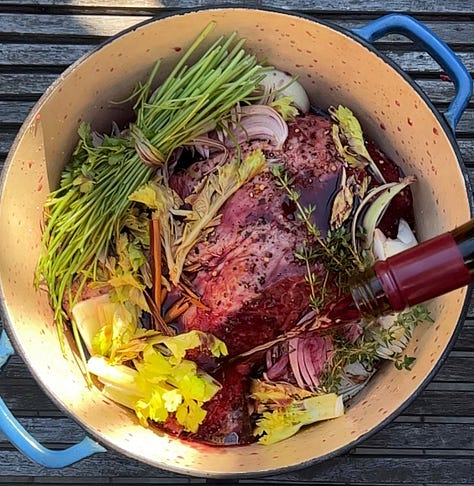
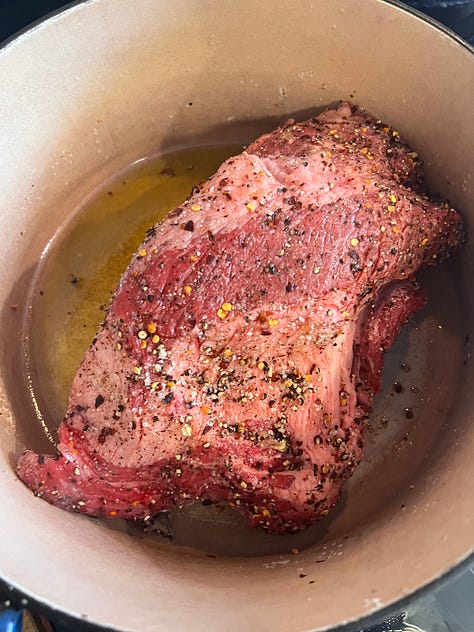
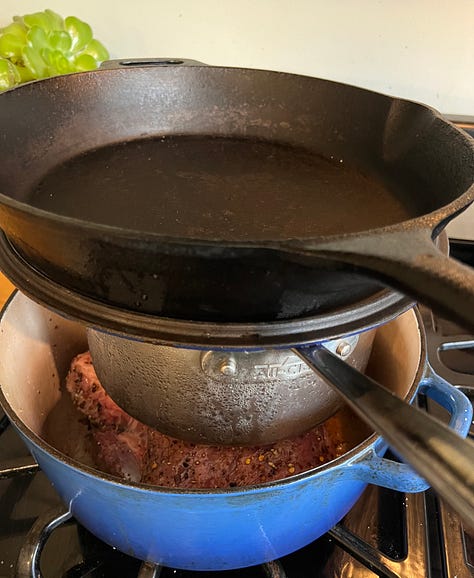
I especially like braising brisket at a slightly higher temperature than is traditional (350 degrees as opposed to 300 degrees) when I don’t brown first because there’s a higher level of roasty-toasty reduction taking place. At this higher temperature, your brisket WILL get color in the oven if you don’t sear first, so don’t stress if you skip.
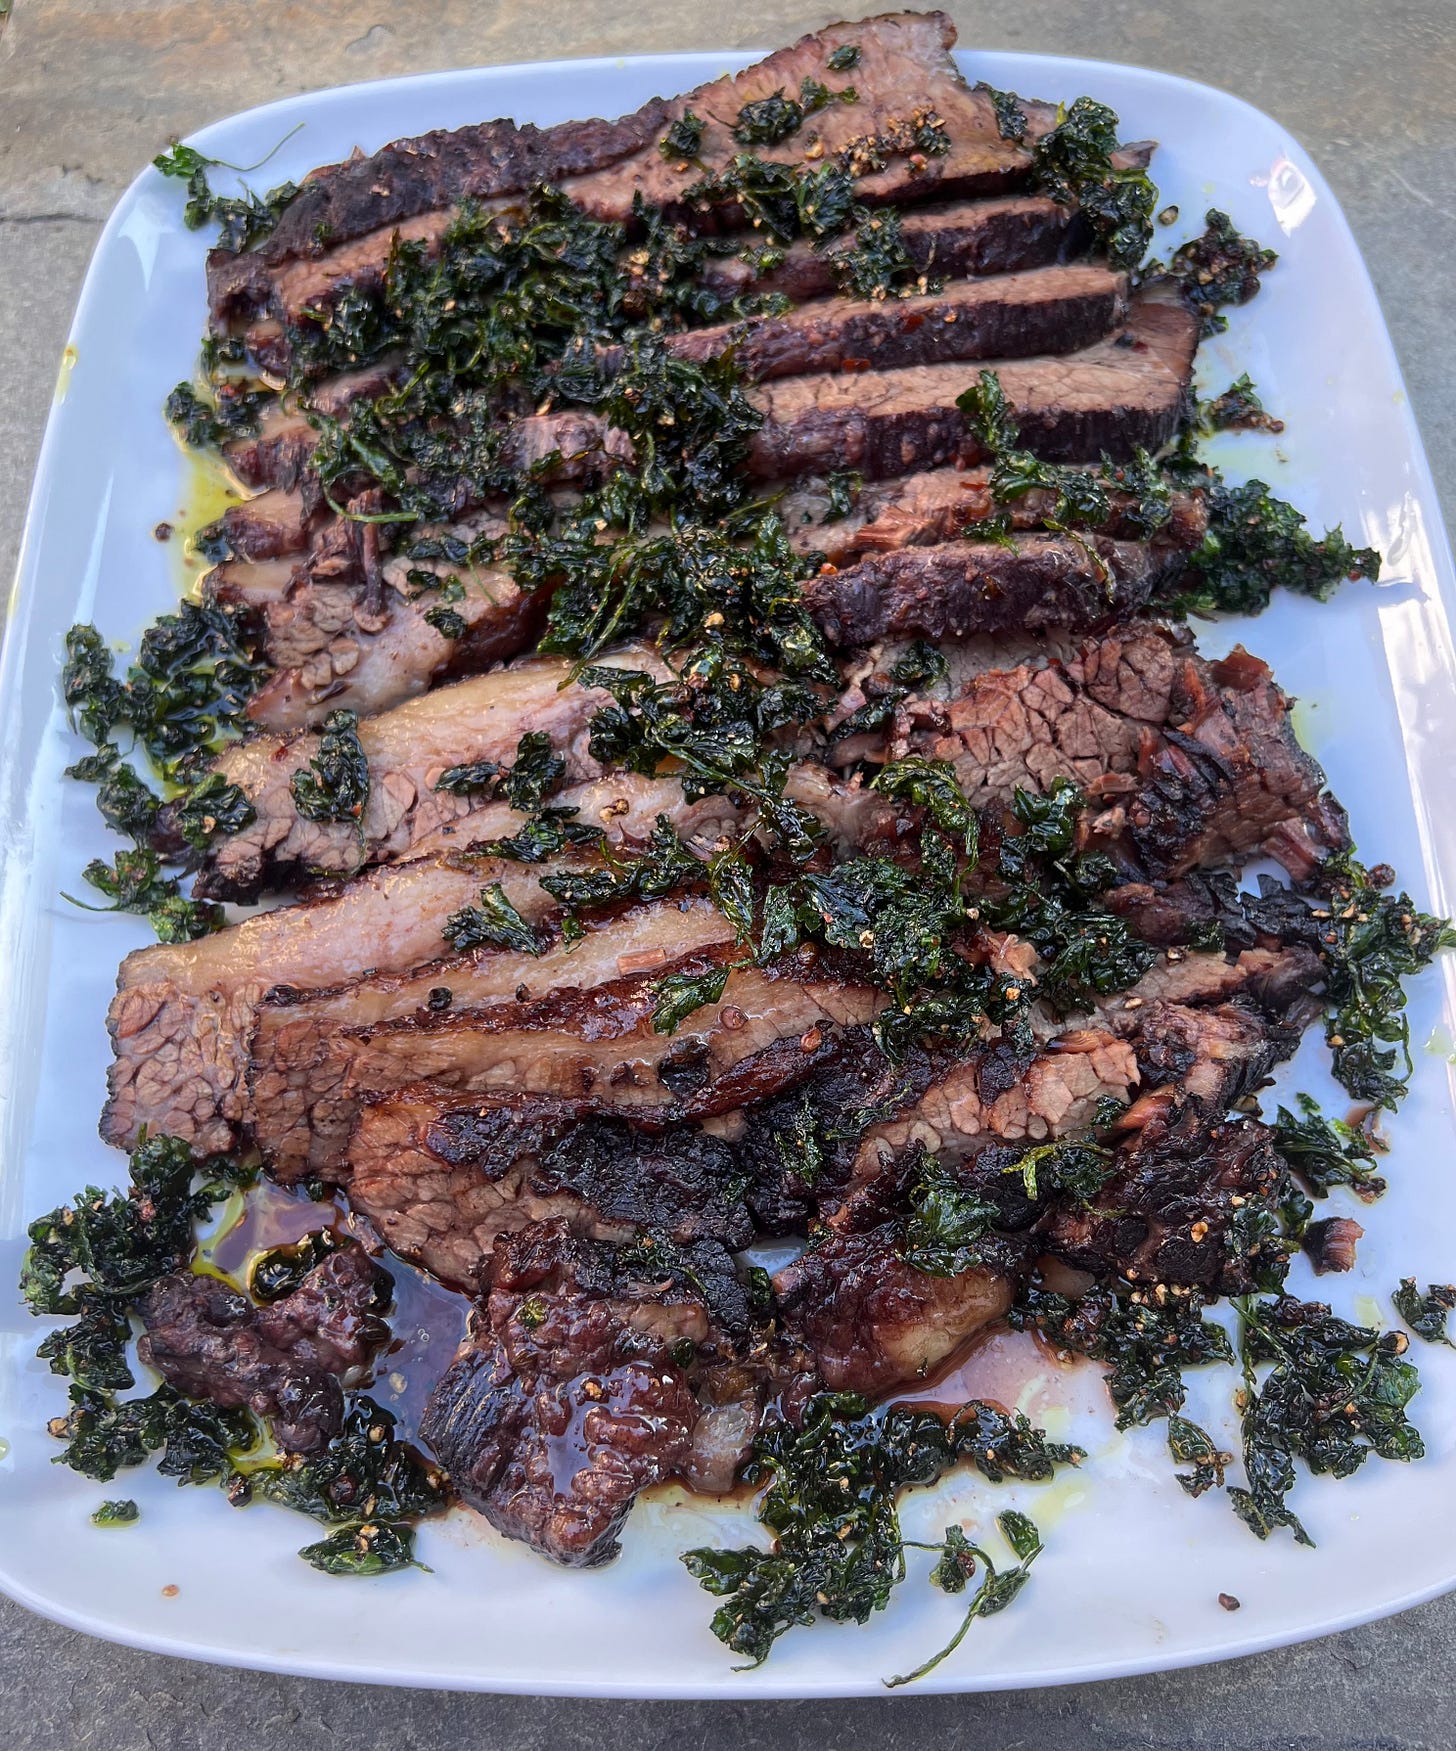
Level it up, or not: The fry-it-all-up-at-the-end garnish, comprised of herbs, shallots, dates, and black peppercorns is optional, too. Do I want you to top your cinnamon-spiced, wine-spiked feast with a massively fun flavorbomb of a topper? YES. (And tell me what you think.) Or just do the fried dates and black peppercorns, and skip the fried shallots and parsley. But if you want to want to politely pass on it all, just simply top the brisket with some fresh parsley leaves and douse in the cooking jus, so rich and winey. In short, if you want to use this recipe just for the ingredients in the braise and the method of cooking in the oven, you will be host-happy.
Make Me Ahead. Three reasons why:
Chilling your brisket in the fridge after it comes out the braise makes for SUCH an easier roast to slice. This brisket is crazy tender, and slicing hot out of the oven is FINE, but a bit more… shreddy.
Storing said slices in the cooking jus for hours or days before serving increases succulence and flavor. As the brisket sits in its braising liquid, the meaty fibers take it alllllll in. Do this 2 or 3 days in advance, if you like. Even 1 day before your affair is pretty wonderful.
Straining and chilling the cooking liquid ahead of time is the best way to isolate that incredible brisket fat that you’ll use for frying your peppercorns, dates, and shallots.
It’s foolproof: I’ll explain. In addition to the fact that I’ve been pulling brisket shreds out of my hair for the past three days in order to fine tune the shtetl out of this recipe, I call specifically for the point, rather than the flat, of the brisket. And this makes a significant difference.
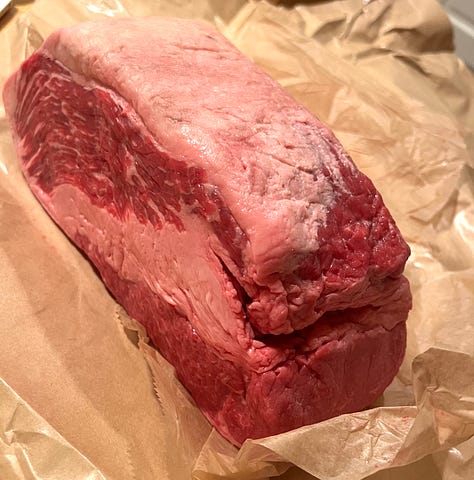
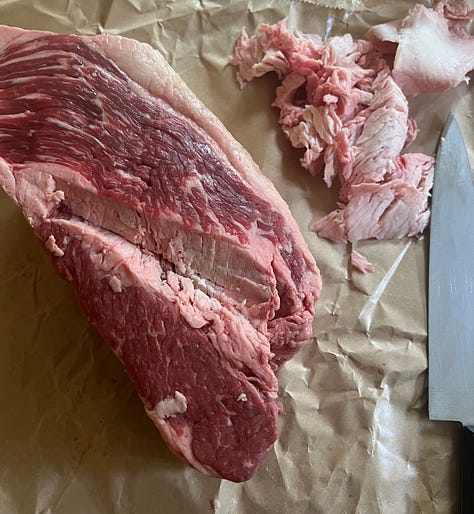
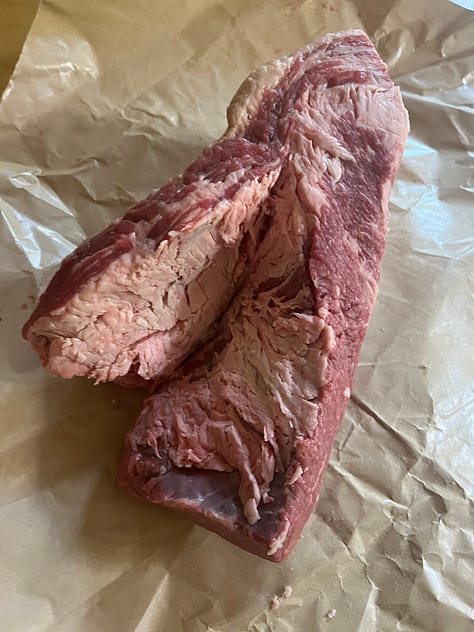
Briskets are made up of 2 different parts: the point and the flat. The flat is leaner, and for some reason I’ve never understood, more popular. The richness of the point drives its deliciousness. And makes for a more forgiving cut (read: harder to overcook because of all of its moisture-making fat) than the flat. But here’s the bonus: if you order a point, more often than not, there will be a bit of the flat underneath it (the flat part sits under the point in the brisket), so leaner-meat lovers in your clan will be catered to, as well.
A final note: I’ve never really understood why brisket is so frequently designated for barbecue circuits and Jewish holidays. Doesn’t it warrant as much reverence as the other popular beef cuts, like short ribs, chuck, and steaks of all kinds? Pose the query at your Passover seder. Or wherever— Christmas Eve, your family reunion this summer, or your 37th birthday party, all events where I hope this recipe rears its versatile head.
Bottle-of-Wine Brisket “Au Poivre” with Cinnamon, Crispy Dates, Fried Shallots, and Herb Crunch
Serves 6-8
I recommend making this in advance (1 to 3 days) for a number of reasons. Slicing brisket and skimming fat is easier when everything is cold, and it’s a breeze on the day of serving to have everything ready. But best of all, the meat will become more flavorful and soak up the goodness of the braising liquid as it sits. You can slice the brisket just before serving, but I like to do so as soon as the meat is chilled and firm, and then store the slices in the liquid. It’s like surround sound, for your beef.
Use a brisket point rather than a brisket flat! The point is less lean, which means more flavor and more die-for richness. Ask the butcher to leave a nice fat cap on the exterior but to remove as much exorbitant other fat as possible. Can you use a flat cut if that’s all you can find? Of course.
Ideally, crush the peppercorns with a mortar and pestle or spice grinder, unless your pepper mill can grind to a fairly coarse texture.
¾ teaspoon red pepper flakes
2 heaping tablespoons coarsely cracked black peppercorns
Kosher salt
One 4 to 4½ pound brisket point (as opposed to brisket flat), trimmed of any exorbitant fat
1 large onion, peeled and cut into ½-inch wedges
3 stalks celery, plus leaves if they’re present
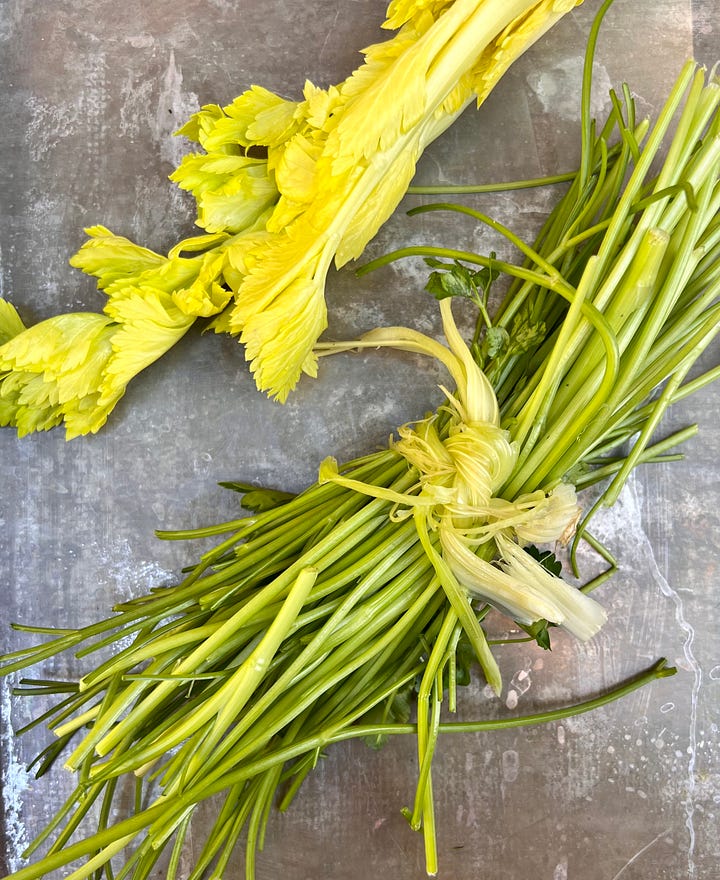
1 bunch parsley, leaves and stems separated, stems tied together with butcher twine or celery strings
½ bunch thyme
3 cinnamon sticks
1 bottle red wine
2 tablespoons red wine vinegar
Olive oil, for frying
1½ pounds shallots (about 14 medium-large bulbs); half peeled and sliced, half peeled and halved lengthwise
3 ounces pitted dates, sliced (about ½ cup)
1. Preheat the oven to 350 degrees with a rack in the center. Yes, this is a hotter temperature than you might expect for a brisket, but because you’re not browning it first, you’ll get better caramelization this way. Trust!
2. Combine the red pepper flakes, half of the cracked black peppercorns, and 1 tablespoon plus 1 teaspoon salt in a small bowl.
3. Rub the spice mixture on all sides of the brisket, pressing to adhere. (This is a great step to do in advance, even if only an hour ahead of time, to let the seasonings begin to make their way into the meat.) If you’re opting to brown the brisket (to each their own/old habits die hard/if you’ve got the time), head to the searing instructions at the bottom of the recipe.**
4. Place the brisket in a large Dutch oven with a tight-fitting lid, fattiest side up. It’s okay if it’s a bit snug in the pot, as the brisket will shrink as it cooks. If you don’t have a Dutch oven that’s large enough, use a roasting pan or large baking dish and cover tightly with aluminum foil.
5. Scatter the onion, celery, parsley stems, thyme, and cinnamon sticks all around the brisket. Pour a bottle of wine into the pot, along with the red wine vinegar and 1½ cups water. Bring to a brisk simmer over medium-high heat, cover, and transfer to the oven.
6. Braise, basting the brisket halfway through, for 2½ hours. Uncover the pot and distribute the halved (as opposed to sliced) shallots around the roast. Recover, and continue braising until the meat is tender and jiggly, about 45 to 60 minutes more. What’s tender? Piercing the center of the brisket with a paring knife should offer little resistance, and the edges of the meat should be slightly pull-apart and just starting to shred at the edges.
7. Remove the brisket and shallots from the pot and transfer to a baking dish or vessel deep enough to hold the cooking liquid. (Ideally this will be something that you can reheat the brisket in before serving– just trying to save you some dishwashing.) Strain the liquid through a fine-meshed sieve, press ever so lightly, and discard the solids. With a big spoon, skim fat from the surface and reserve for frying the garnishes, if desired. Season the braising jus to taste with salt and pour over the brisket and shallots. Cover lightly with plastic wrap, and transfer to the refrigerator. Once chilled, skim the fat again, slice the brisket to your desired thickness against the grain (so easy when cold!), and return the slices to the dish, submerged again in the liquid. I like to do this slicing step as soon as the brisket is cold, in order to let the slices themselves take in the liquid and absorb all of that goodness. You can also just keep the brisket whole and slice immediately before rewarming and serving.
Alternatively, if serving immediately, strain the liquid (reserving the shallots for serving), skim fat, and carve as you wish! If cutting into slices is tricky because the brisket is hot and a bit fall apart, lean into the shred… that’s fine, too.
8. Garnish making! (You can certainly do this while the brisket is braising. Just use olive oil in place of the brisket fat for frying.) Line a baking sheet with paper towels. Place skimmed brisket fat into a small skillet, supplementing with enough olive oil as necessary to come ¼-inch up the pan. (It’s ok if a bit of the cooking liquid got skimmed up along with the fat; it will start to evaporate once hot.) Place over medium-high heat. Add the shallots in two batches. Fry, swirling the pan and stirring occasionally, until golden and crisp, about 7 to 9 minutes. They will likely fry a bit unevenly, and that’s okay! Stop the cooking when the majority of the shallots turn medium-golden. Using a fine-meshed sieve, strain into a heatproof bowl or measuring cup, gently shake to remove excess oil, and scatter shallots onto the prepared baking pan and season with salt. (You can also remove shallots with a slotted spoon, but if you have one, using a strainer and a bowl makes the frying process pretty seamless.) Return the oil to the skillet and repeat with remaining shallots, adjusting heat to prevent burning and replenishing oil as necessary.
Reserve half of the parsley leaves for serving. Fry the remaining parsley leaves in very small batches, and STAND BACK as you add them to the skillet, as they will pop in the hot oil! When the splattering subsides, submerge the leaves in the oil and let cook just until crisp, about 15-30 seconds. Remove by straining through a sieve over a bowl or by using a slotted spoon; transfer to the sheet pan with the shallots and season with salt. If you strained over a bowl, return the oil to the skillet.
Over medium-high heat, add the remaining cracked black peppercorns to the skillet and toast, swirling the pan, until sizzling and fragrant, about 1 minute. Add the dates, stir to coat, and toast until whitened on the edges and slightly translucent in parts, about 1 minute more. The dates will crisp as they cool.Strain the mixture, reserving oil for another use if desired, and transfer to the sheet pan with the rest of the garnishes. (If desired, you can mix the whole mess of garnishes together in a bowl, and pass at the table, if you’re a real DIY kinda person.)
9. Serve! If you haven’t already sliced the brisket, do so, and return the slices to the pot or a heat-proof serving dish, along with the braising liquid. Transfer to a 400 degree oven (if in a pot, you can jumpstart things by getting the liquid bubbling on the stovetop first), basting occasionally until the brisket is warmed through and the cooking liquid is bubbling and reduced a bit. Give the braising jus and brisket slices one last taste and one last seasoning with salt, if necessary. Serve, with plenty of cooking liquid and the roasted shallots, topped with all the crispy garnishes and some fresh parsley, too.
**BROWNING INSTRUCTIONS, if you desire:
Heat a large skillet or your Dutch oven over medium-high heat. Add 2 tablespoons olive oil, swirl to coat, and add the brisket, fat side down first. If desired, place a heavy skillet, pot, or both on top of the brisket to encourage surface contact and increase browning. Sear until deeply golden, about 6-8 minutes. Flip, and repeat on the other side or two. (Points will likely have 3 sides to sear; if you’re using a flat, you’ll only brown two sides.)
Remove the brisket to a plate. Reduce heat to medium and add the onions and celery. Cook until golden on the edges, about 4-6 minutes. Add the parsley stems, thyme, cinnamon sticks, wine, vinegar and 1½ cups water, scraping the pan to deglaze. Nestle the brisket and any accumulated juices into the cooking liquid and cover. Return to the recipe and proceed with step 6.





I know you worked your tail off for this recipe--and it shows! Not only does this sound crazy delicious, but this is perhaps the most entertaining recipe I have ever read. 😂 Kudos to you, and can’t wait to try this out!
Ok - you just inspired me to defrost that brisket that has been taking up room in our freezer for oh so very long because no one feels like brisket! That is until we read this recipe!! I am certain our Passover will be tasty. XE